Everything you wanted to know to make salads in Mason Jars! This one has some easy to follow tricks to get it right each time!
Have you seen Instagram, Pinterest and Foodgawker filled with salads in a jar? I saved a ton of pins and images of these salads for a while. Finally, I started making them for my lunch and now I am loving it! After experimenting a few combinations and following articles online, I now have a set way of making my salads. Would you like to know? Read on.
The essential components of making a Mason Jar Salad are: a dressing, a protein component, vegetables, greens and sprouts. By mixing various combinations of these layers, the possibilities are infinite!
Starting from the Dressing, you can use anything from an Olive Oil based Vinaigrette to a creamy Mayonnaise based dressing. Or something like a Balsamic base with add-ins or Greek yogurt too. If you would like store bought dressings, just buy a few of your favorites and mix and match as required. Alternatively, make them from scratch on salad at a time. Add some herbs or leaves in any of the bases and mix well. Your yummy dressing is ready!
Next is the Protein. The possibilities for meat eaters is plenty. But vegetarians are not far behind! From tofu or quinoa to legumes like sprouted moong beans or garbanzo beans, these are perfect for the Mason Jar. The lesser common ingredients are cheese and farro. Pick one of these as per your liking and keep changing it to make salads new each time.
Vegetables and Fruits form an integral part of the salad. Whether it is chopped cucumbers, carrots, tomatoes, apples, celery, radish, cabbage or pineapple; they not only add color and flavor to the salad but also crunch and taste. If you like raw vegetables, add that. But if you would rather steam them, add cauliflower, french beans, broccoli or peas. Cut them all to small pieces so that it is easy to fill in and remove from the jar.
Next up is the Fixings. Shaved nuts, raisins, cheese, walnut pieces, dried cranberry, pine nuts etc etc etc. This list is infinite. Mix and match the fixings as per your choice and layer them in! They add a crunch to the salad and make it super delicious too.
Salads and Greens are the last component of a salad jar. The required freshness in the salad is imparted by these greens. Iceberg lettuce, Romaine hearts, bean sprouts, arugula or microgreens. Add your favorites and your salad will be super crunchy.

The secret to a perfect and tasty Mason Jar salad is all in the order.
While picking the ingredients for a salad is important, the order in which they go into the jar is REALLY IMPORTANT. I have had a couple of soggy salads and now I guess I know how to deal with them!
The dressing goes into the jar first. This is so important! This guarantees that your salad ingredients don't get soggy. Next are the grains, protein or anything chunky. These form a WALL between the dressing and the delicate toppings.
Just to double sure, I add an extra layer of protein to separate the top layers from the dressing. Anyway, some extra protein never hurts anyone!
Next in are the fixings. The ingredients that you want to stay dry until just before you eat it. I like to add cheeses, nuts, dried fruits etc in my jar.
And if you have any leafy greens, they go in last. That way when you turn the Mason jar over and unload it all into a bowl, the greens will make the salad bed. Then there will be the remaining ingredients and finally the dressing! Genius, isn't it!
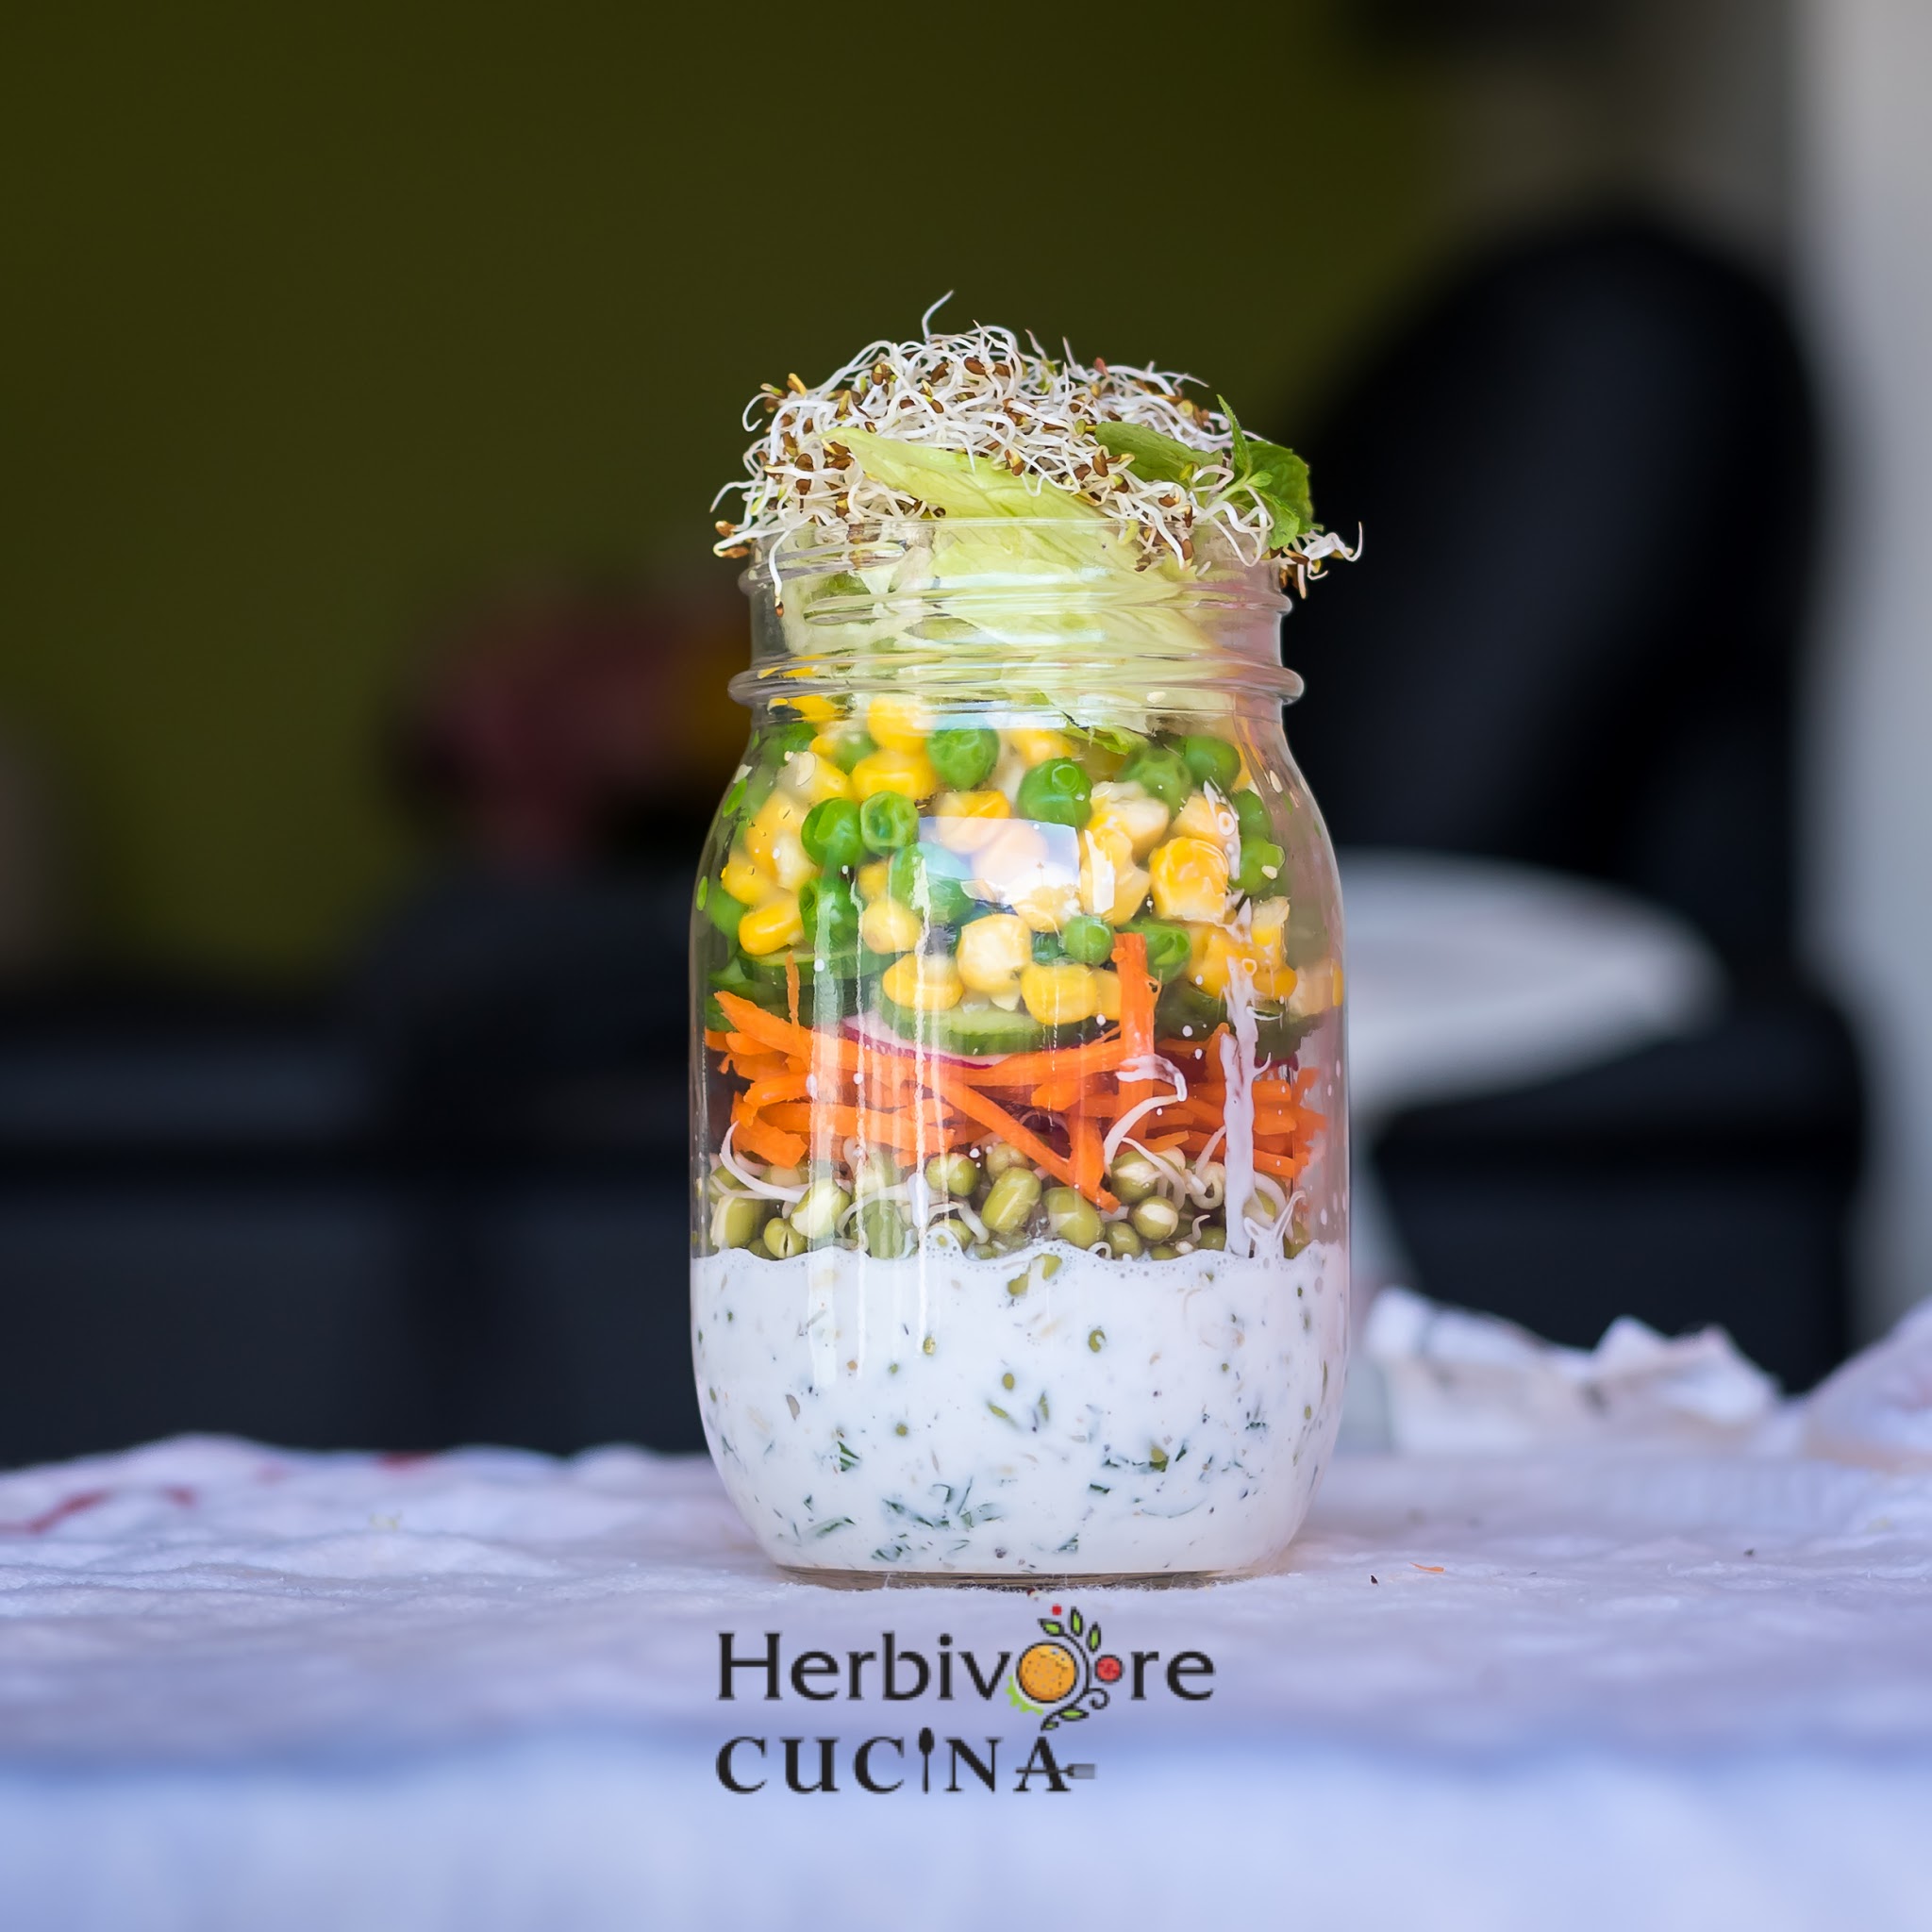
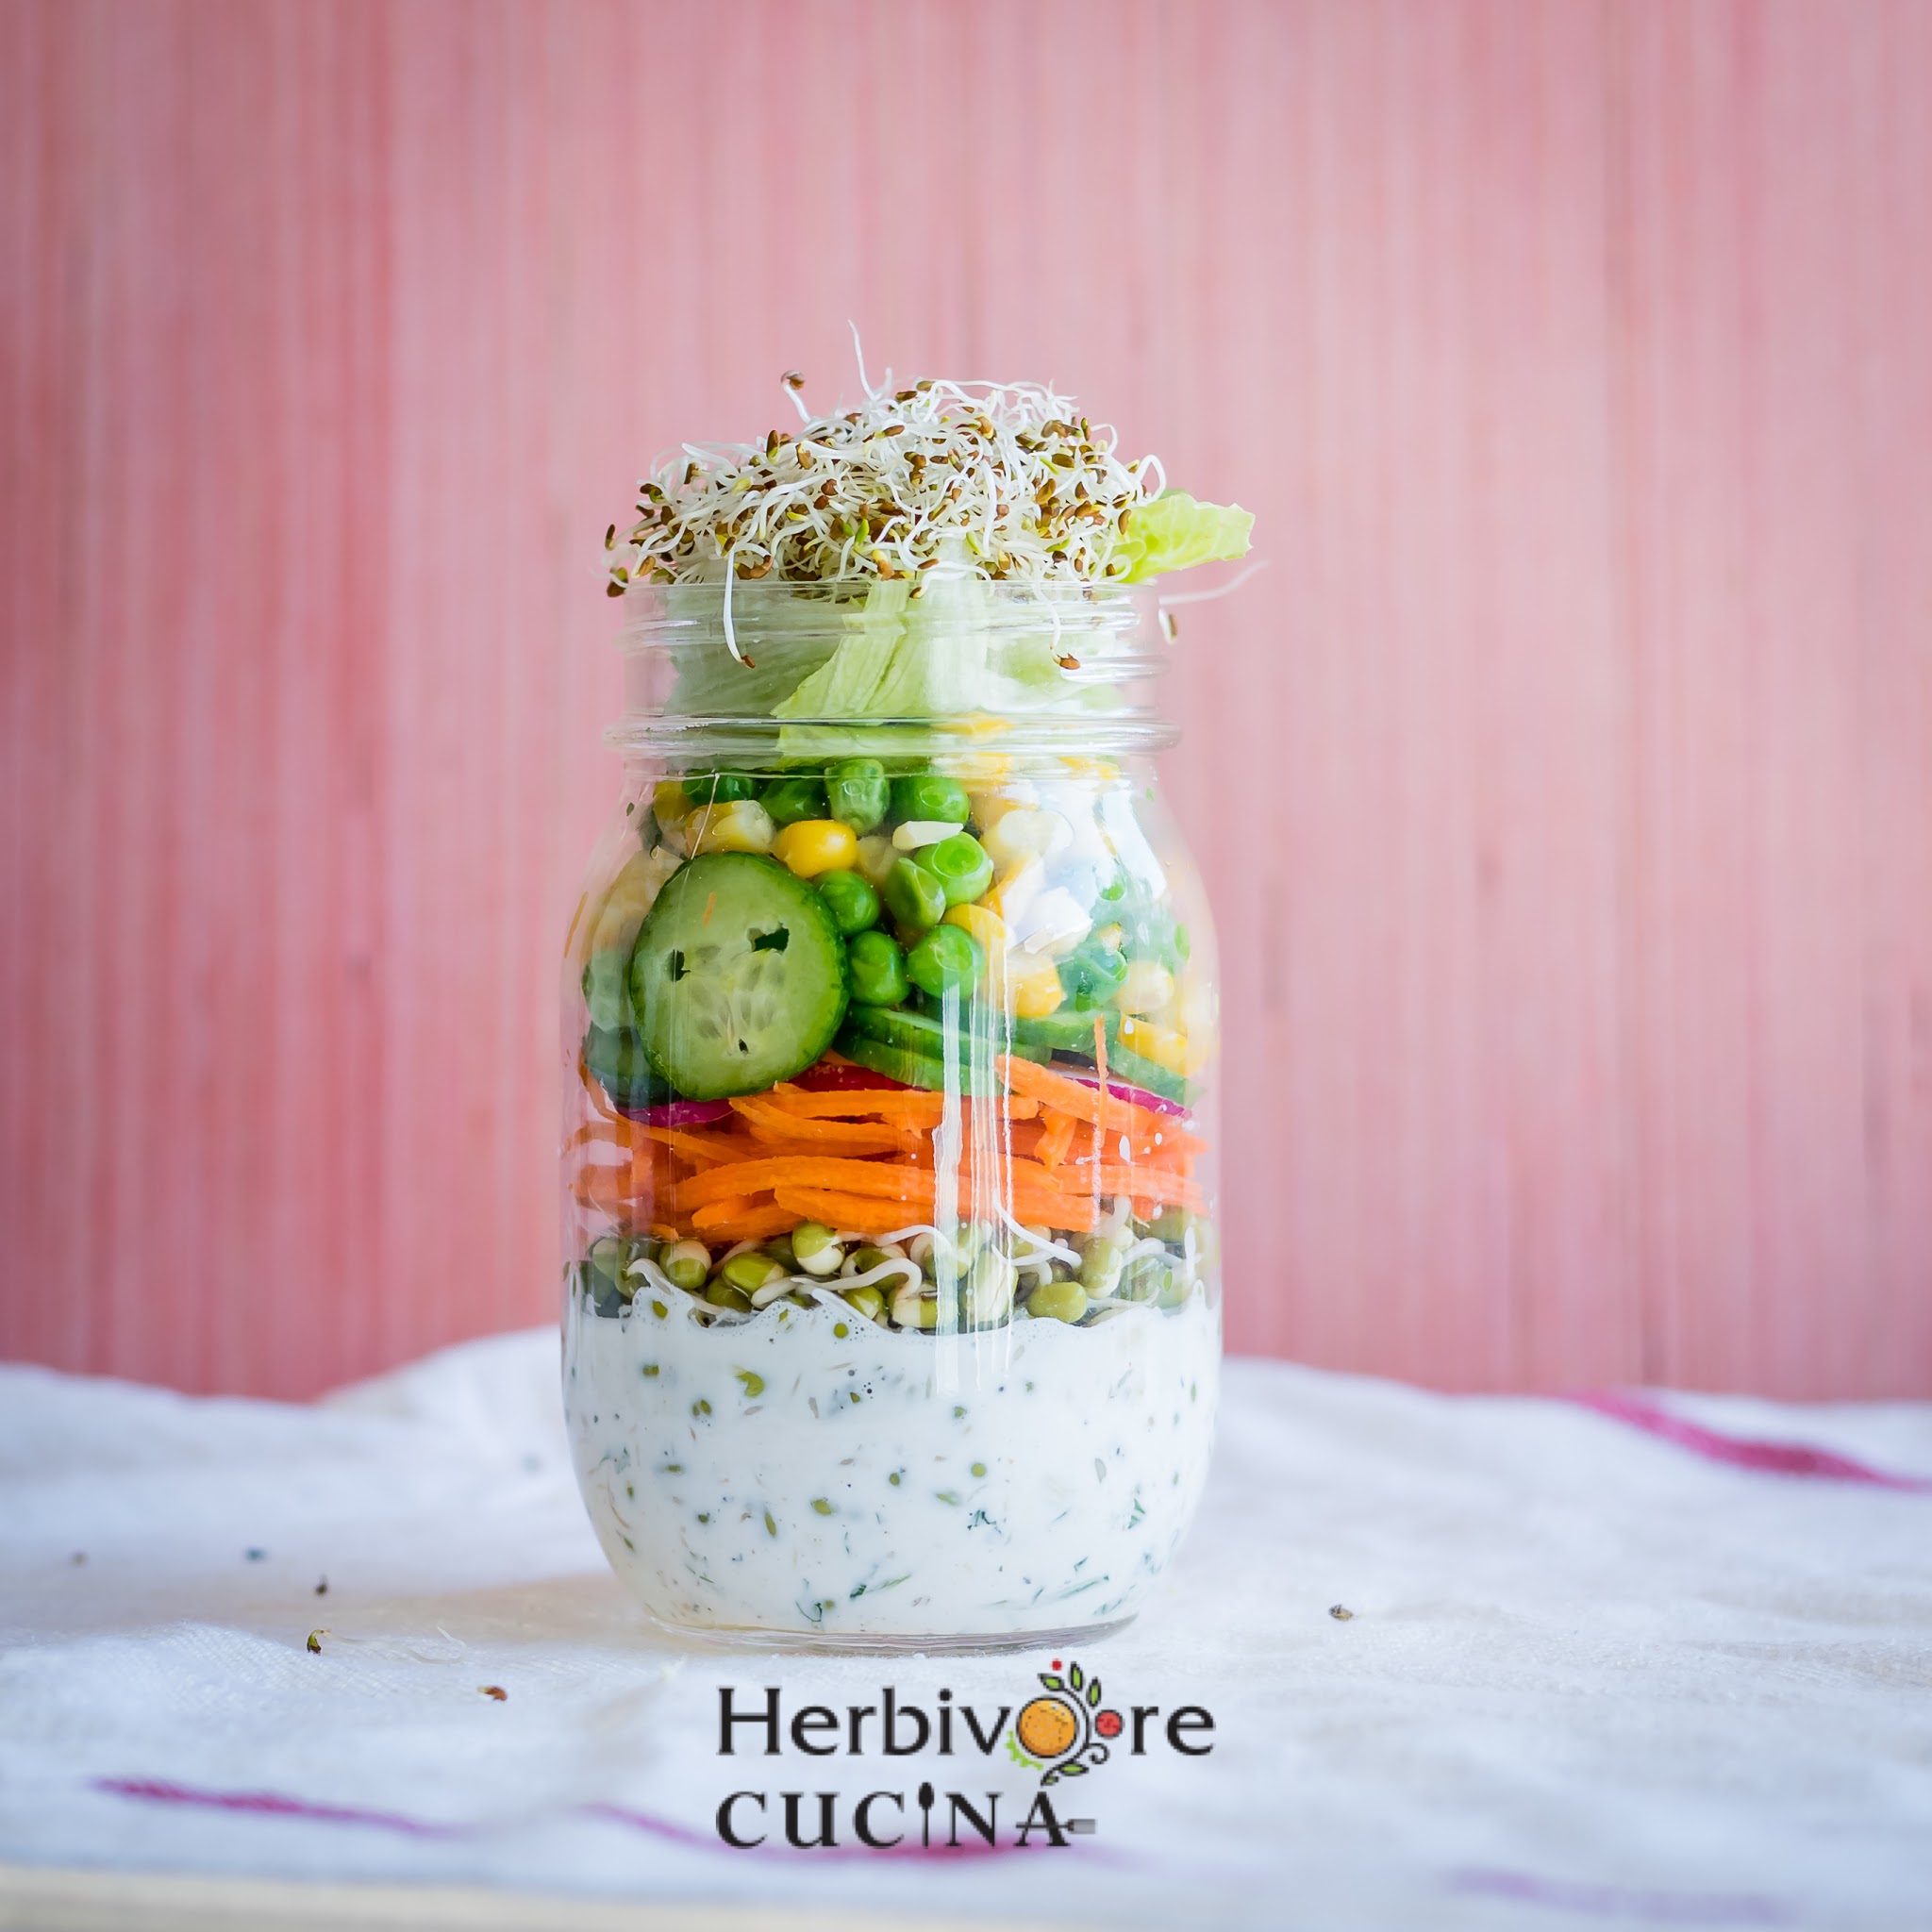
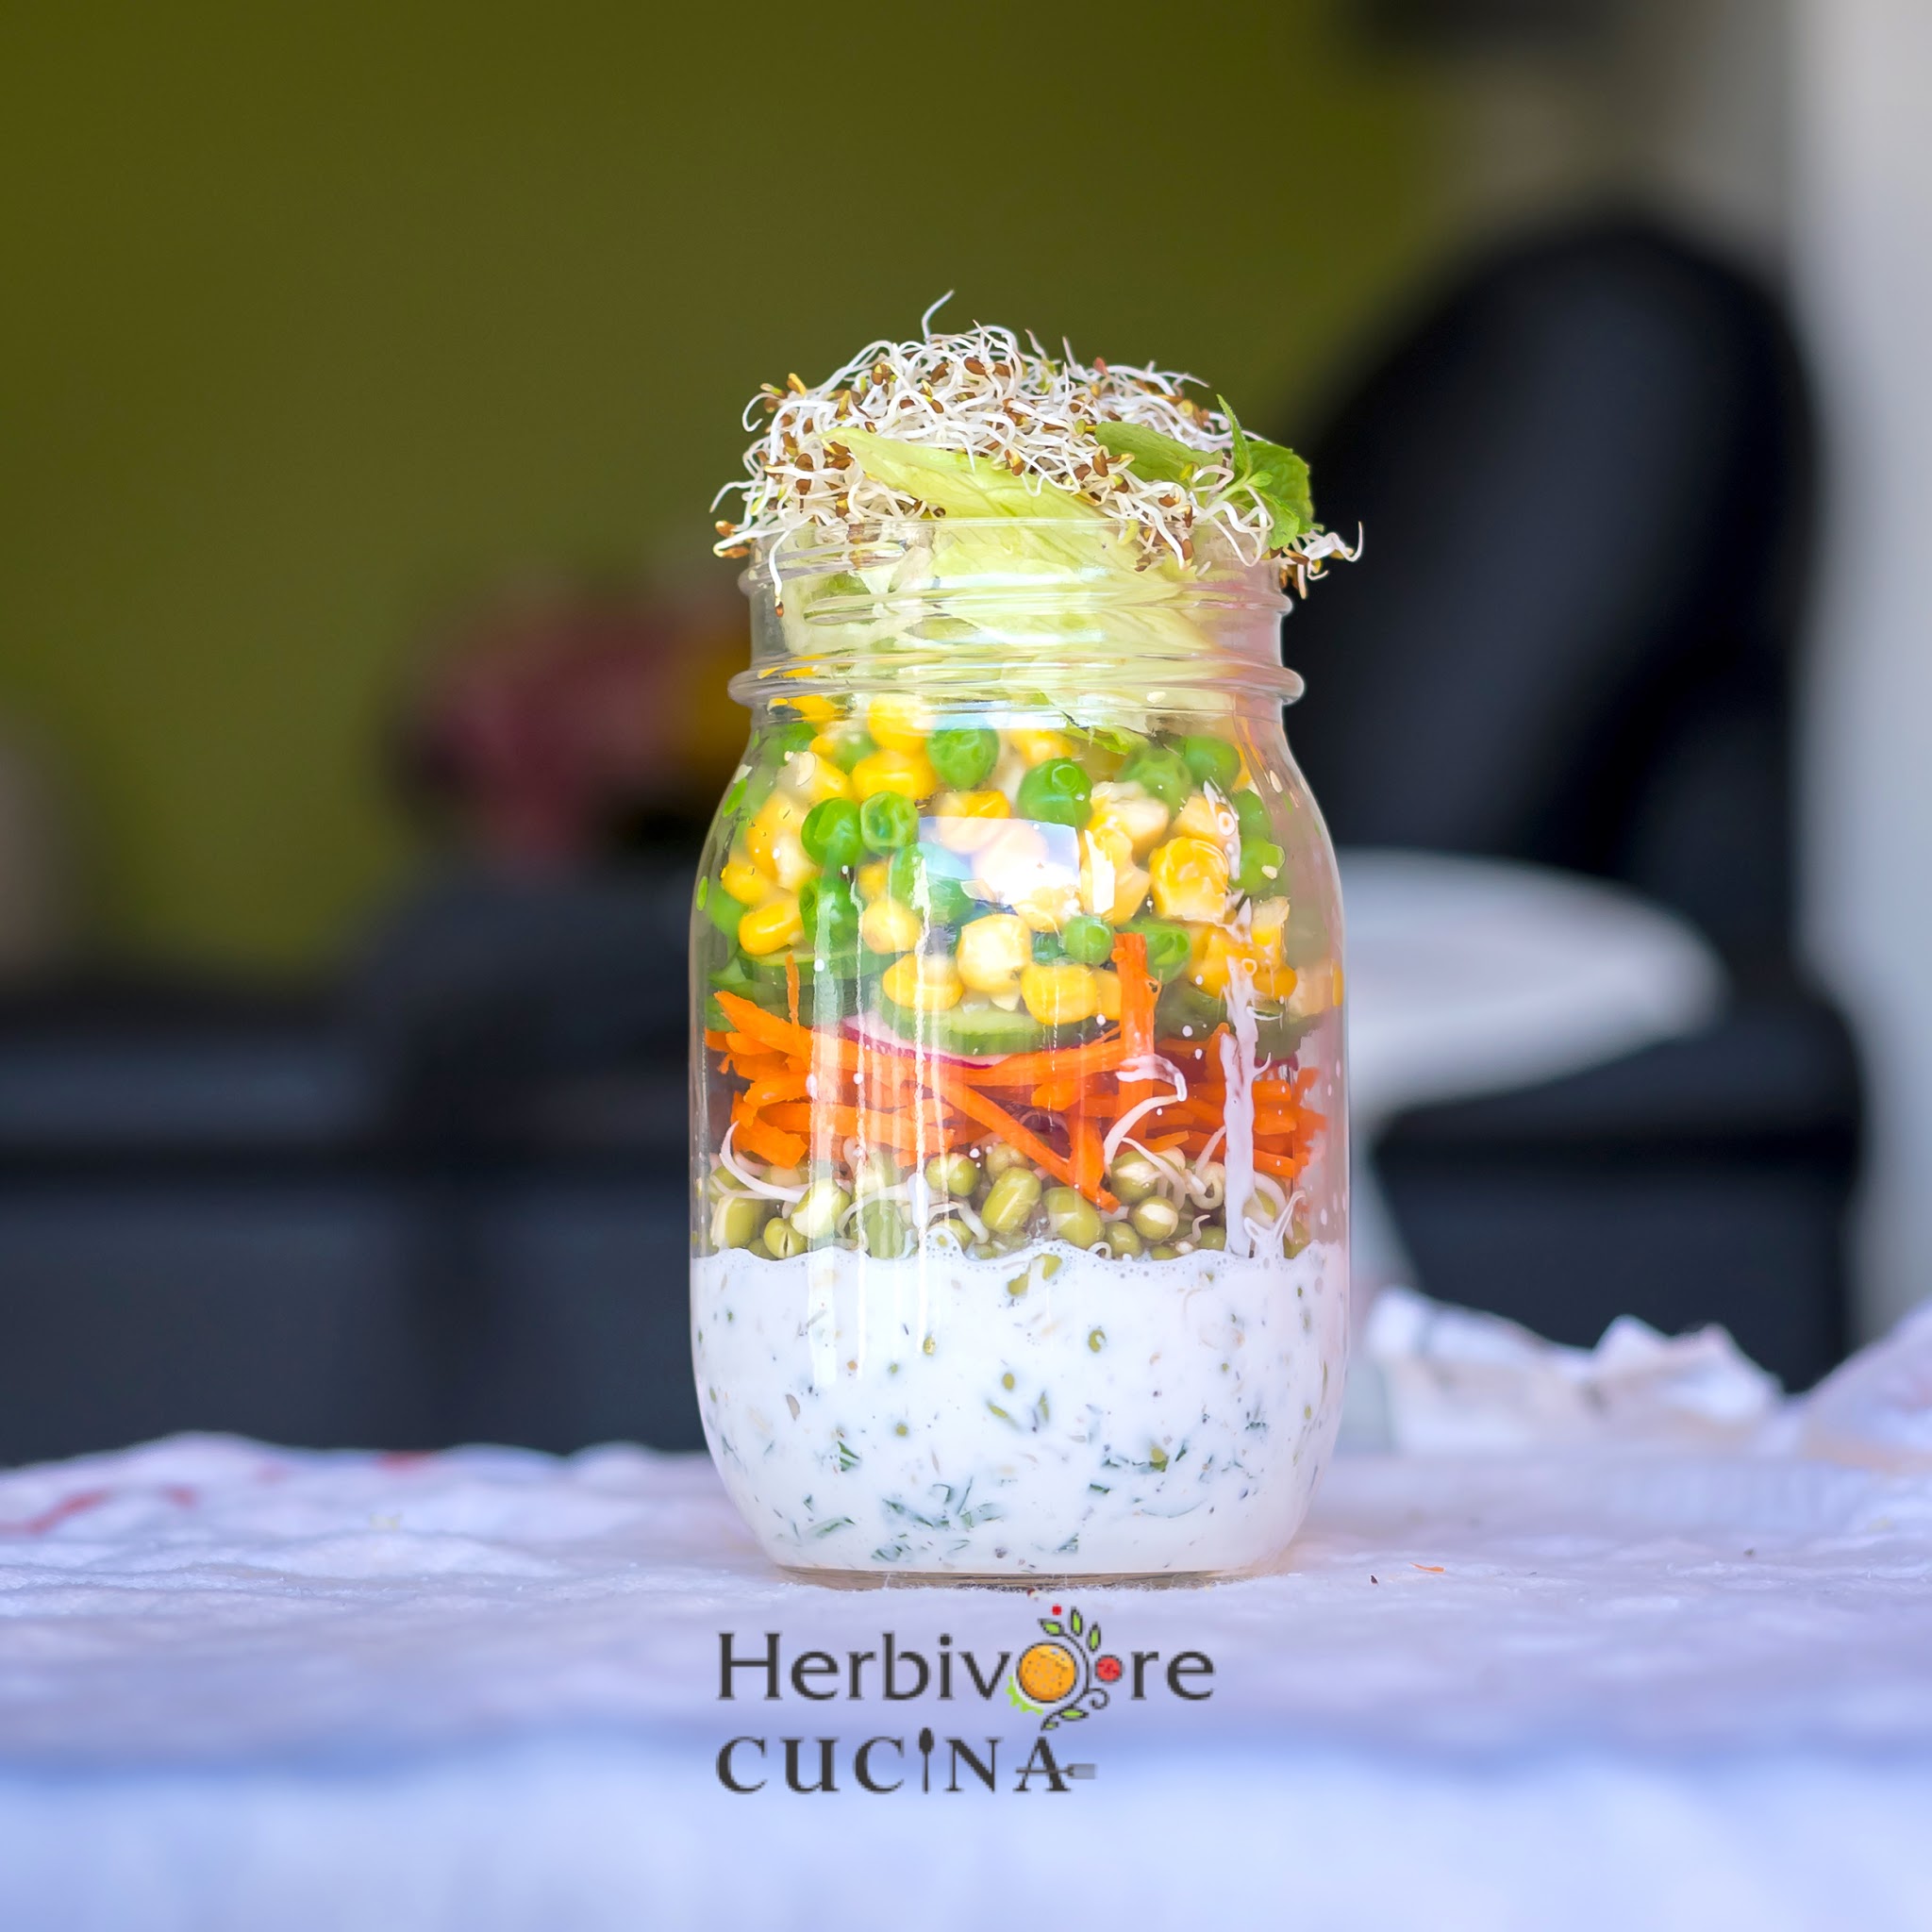
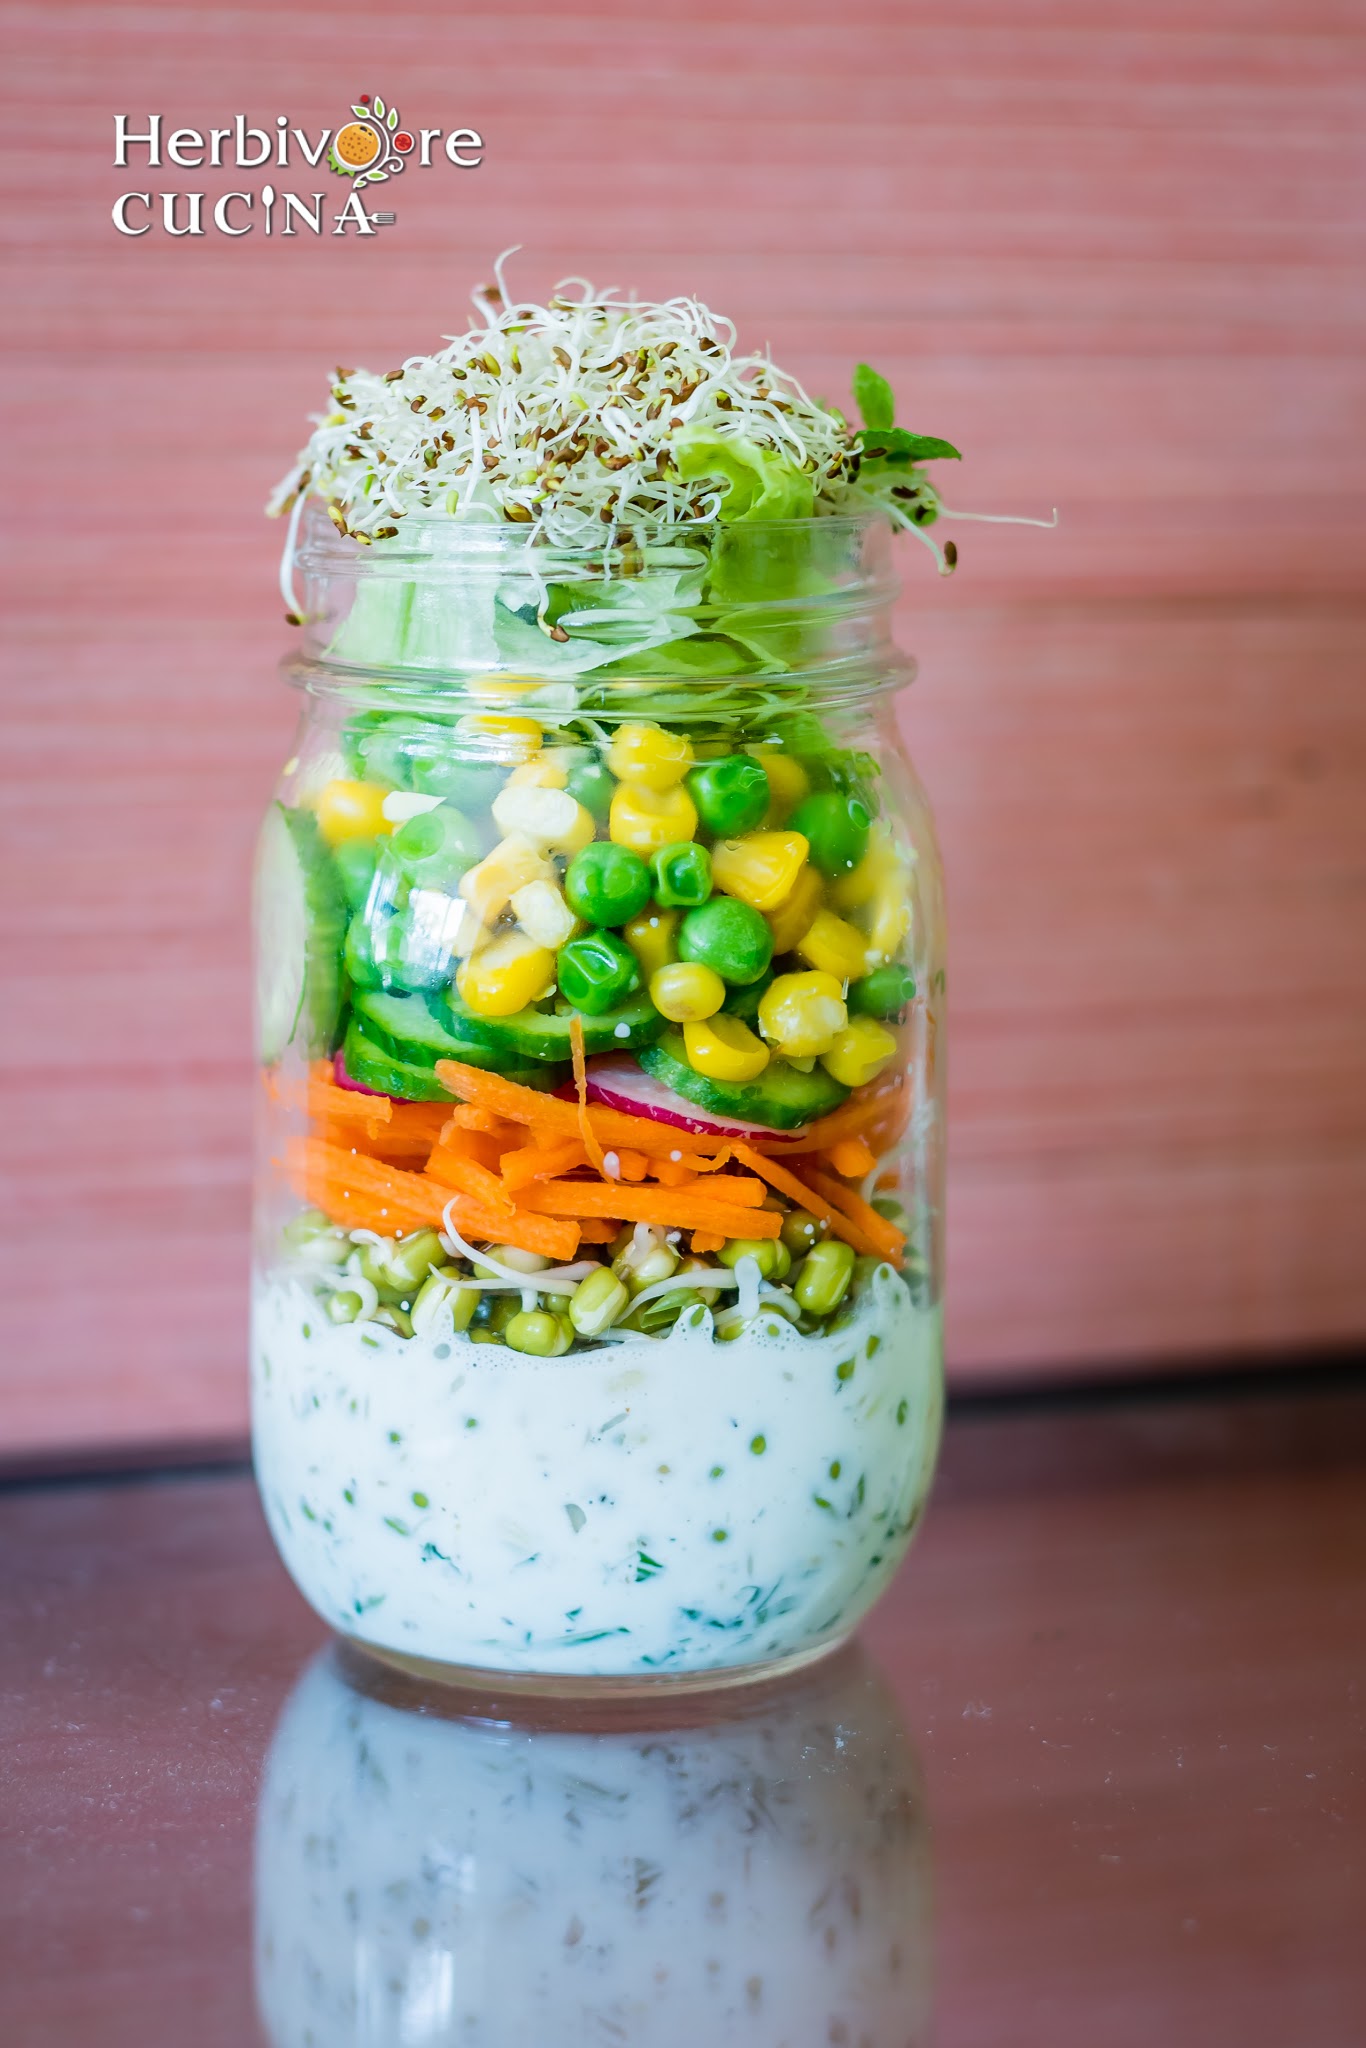
Now with all that information, check out this salad that I made yesterday. It has everything in order and was such a delight for Sunday!

Ingredients
Mayonnaise 1 tbsp
Sour Cream 2 tbsp
Mint leaves 3-4
Sprouted Moong Beans ¼ cup
Carrot, Radish, Cucumber ¼ each
Frozen Corn Kernels and Green Peas ¼ cup each
Iceberg lettuce few leaves
Alfalfa Sprouts ¼ cup
Italian Seasoning ¼ tsp
Salt and Pepper as required
Method
To prepare the individual layers
Mix mayonnaise, sour cream, salt, pepper and Italian Seasoning. Shred two or three mint leaves and mix them in. Refrigerate till ready to use.
Wash and drain the sprouted moong beans. Set aside.
Peel and chop carrots, radish and cucumbers. Season with some salt and keep ready.
In a bowl add the peas and corn. Microwave for two minutes. Alternatively boil them for 5 minutes on the stove. Drain and cool completely.
Soak iceberg lettuce in ice water till crisp. Remove and squeeze out water.
Wash and drain alfalfa sprouts and set aside.
To prepare the salad
Pour the mayonnaise and then add the layers in the following order:
- Sprouted Moong Beans
- Chopped carrots, radish and cucumber
- Peas and Corn Salad
- Iceberg Lettuce
- Alfalfa Sprouts
Sprinkle some salt and pepper on top. Add a mint sprig on the side and serve. Or close the jar and pack.
To eat, just overturn the jar in a bowl. Mix and enjoy!


Leave a Reply