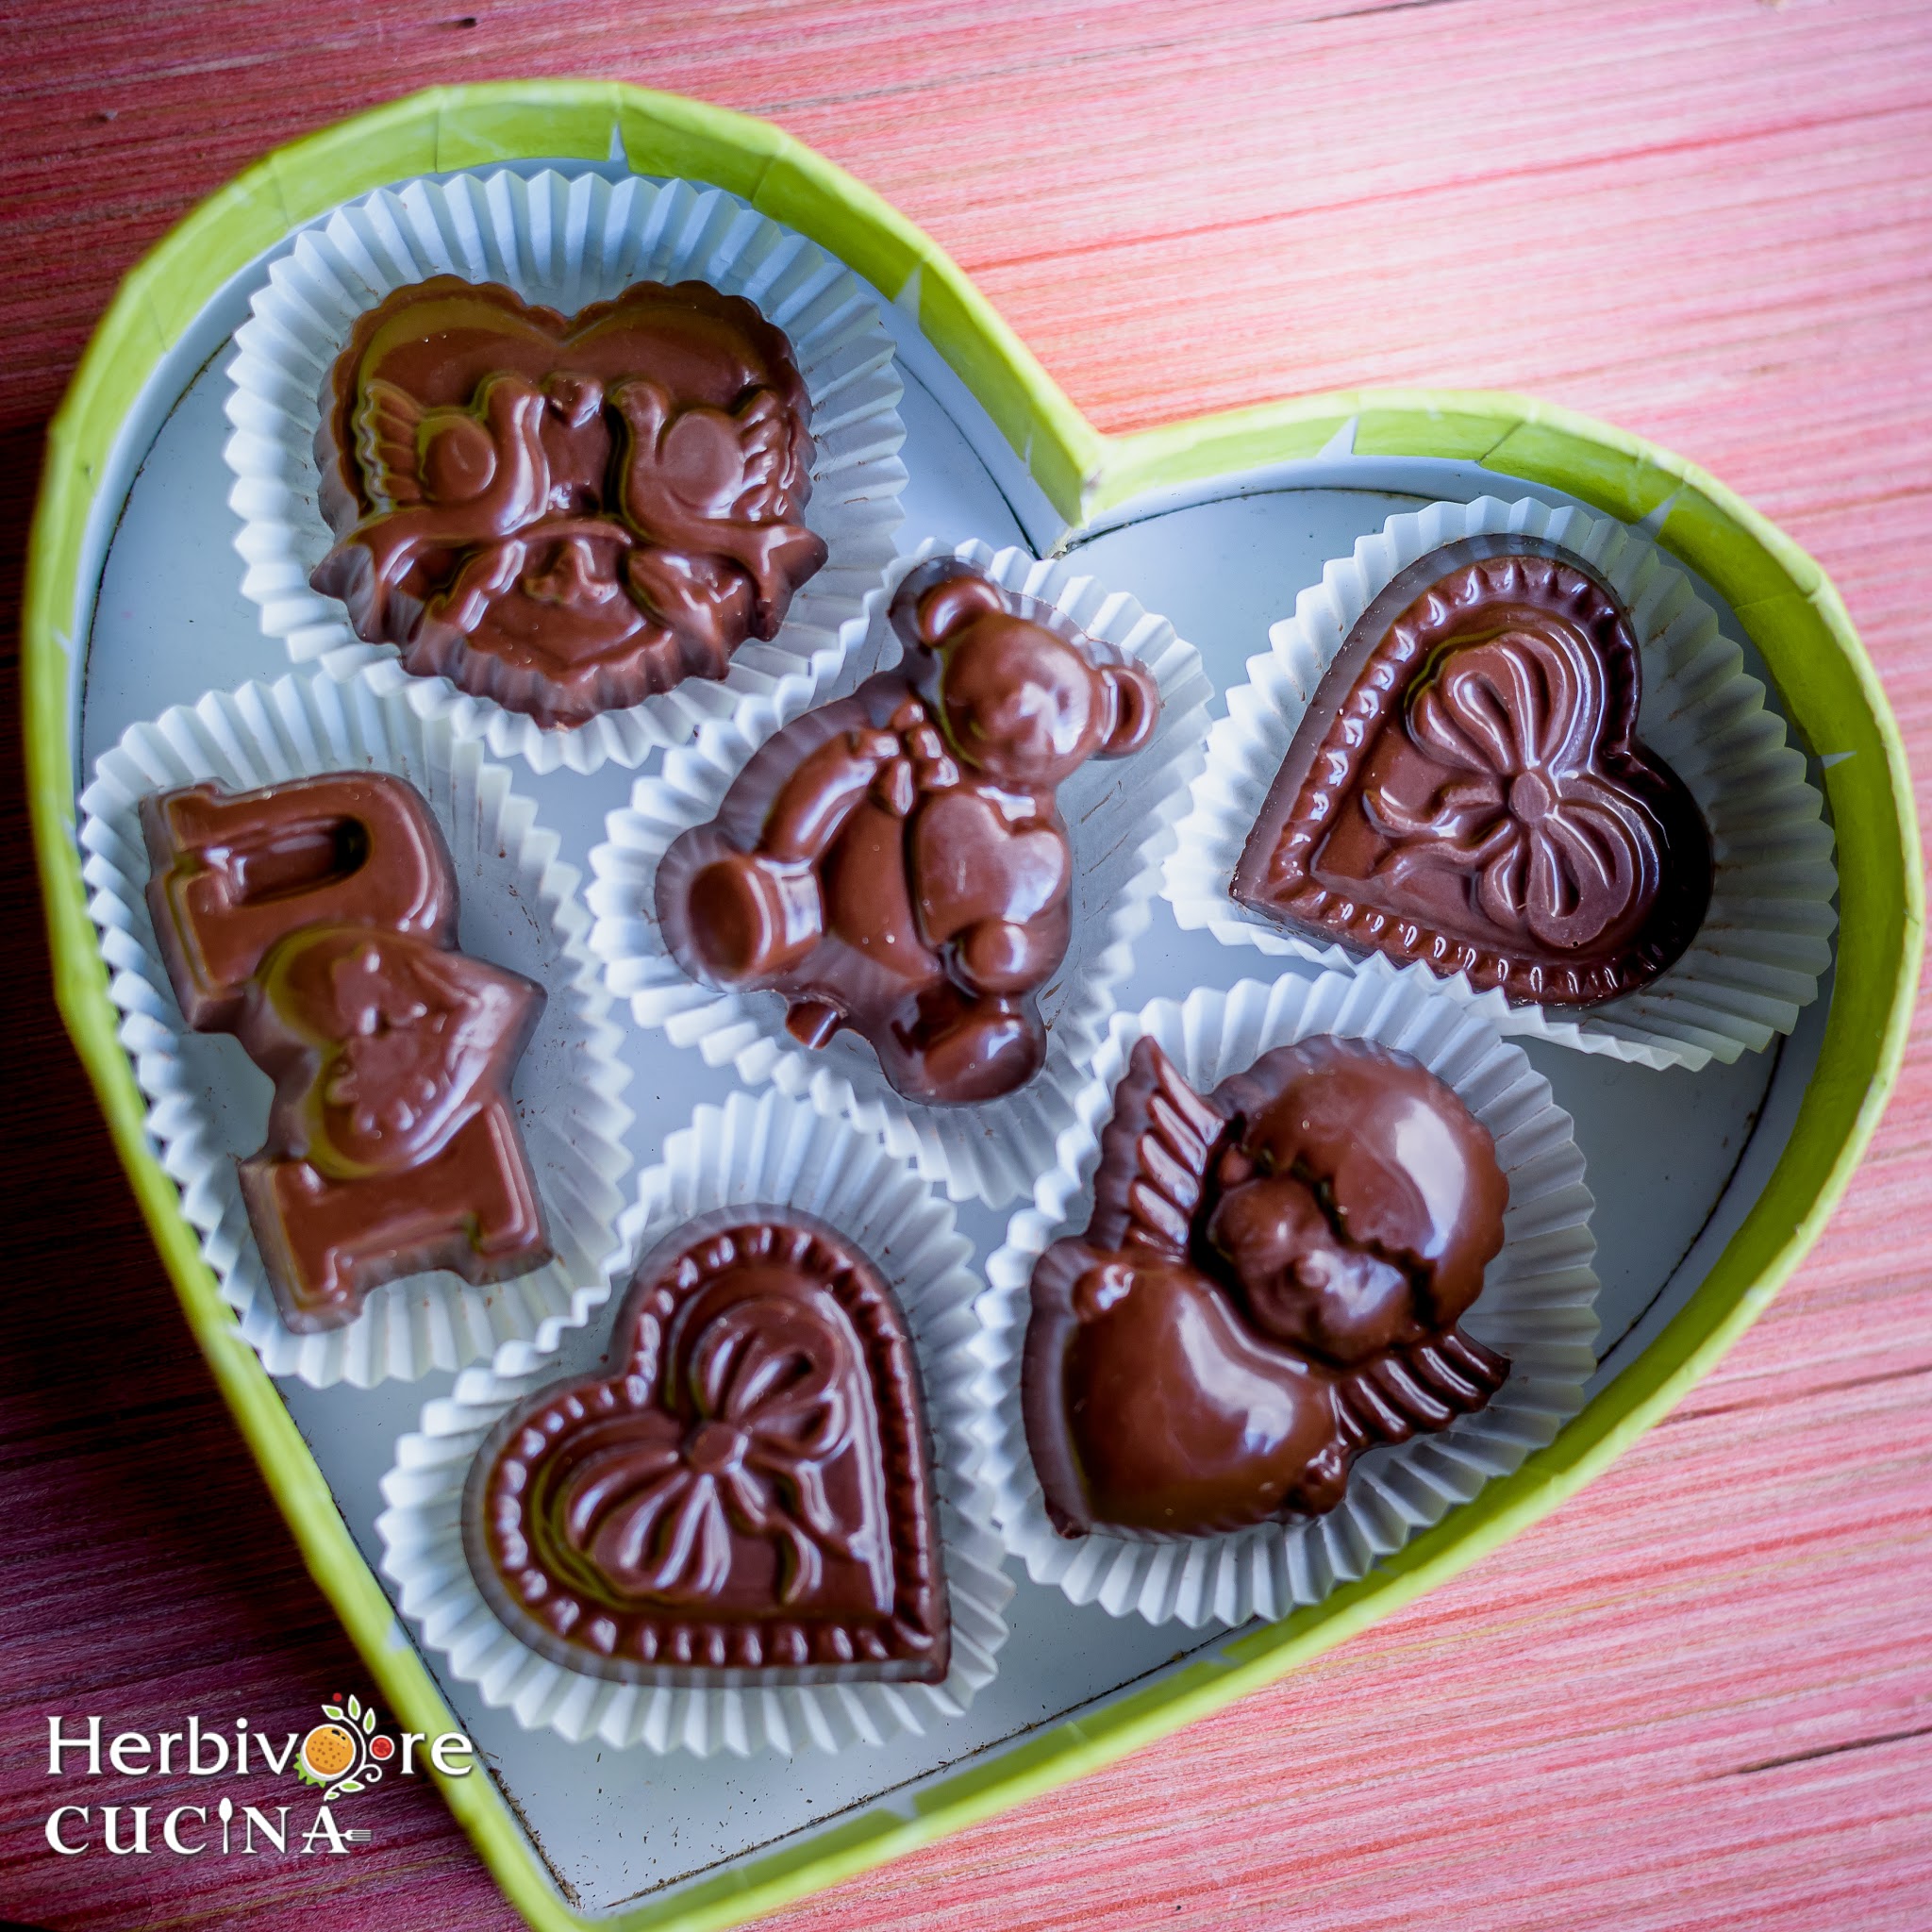
Rich, shiny and customizable DIY Chocolates. These chocolates are super delicious and better than the store bought ones! Edible gifts for the Hostess or for Valentine's Day!
Valentine's Day is almost here! I cannot believe we are the end of January already and thinking of Valentines Day treats. Last year I posted a yummy Pink Hot Chocolate and Chocolate Dipped Madeleines. I started preparing for this year a week ago. I wanted to make something super easy yet delicious!
A few years ago I learnt how to make chocolates. I was on a roll making chocolates for friends, family and of course myself. Starting off with the simplest plain chocolates to ones filled with nuts, coconuts, caramel and jams. At that time I made truckloads of chocolates and then suddenly I stopped making them as I got bored of making the same things over and over and I had gifted some chocolates to EVERYONE around me.

A couple of weeks back I was arranging all my cooking equipments and saw a pile of my chocolate molds! I pulled them out and decided to make some. I made them for Valentine's Day and for gifting it to my friends and nephew. It was so much fun making them after YEARS and it was awesome to see my hubby enjoy them just like he did years ago!
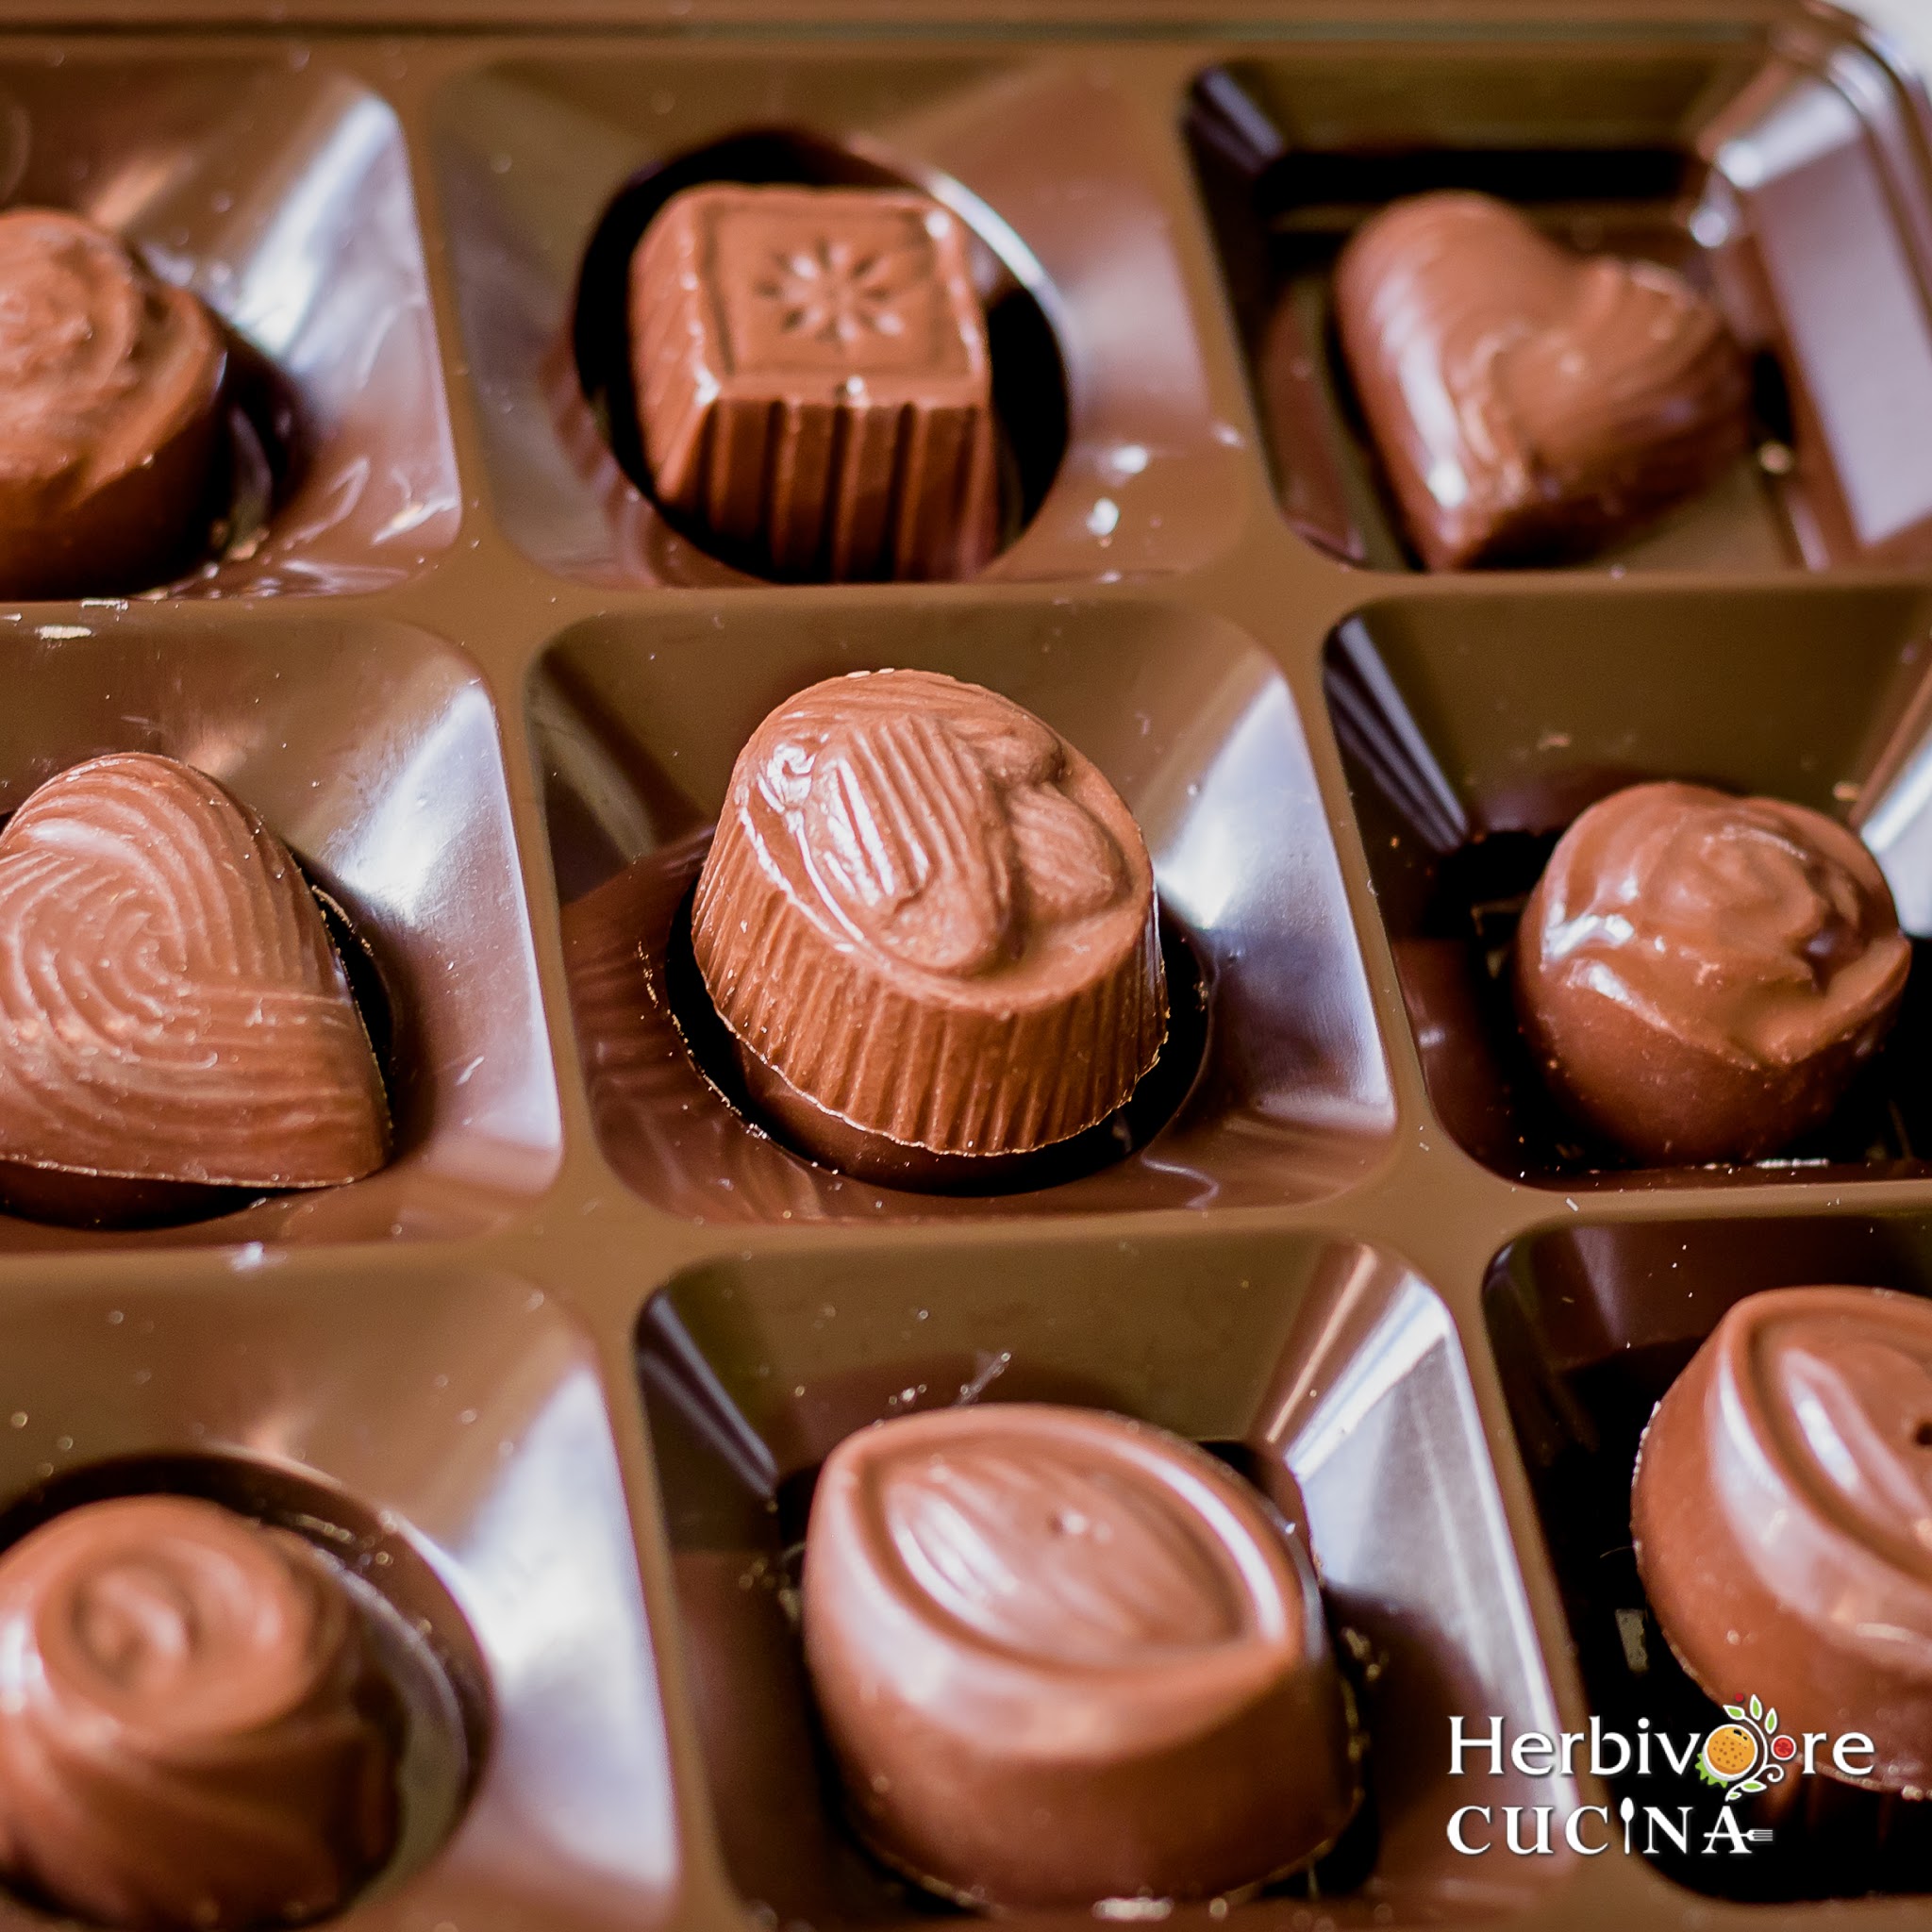
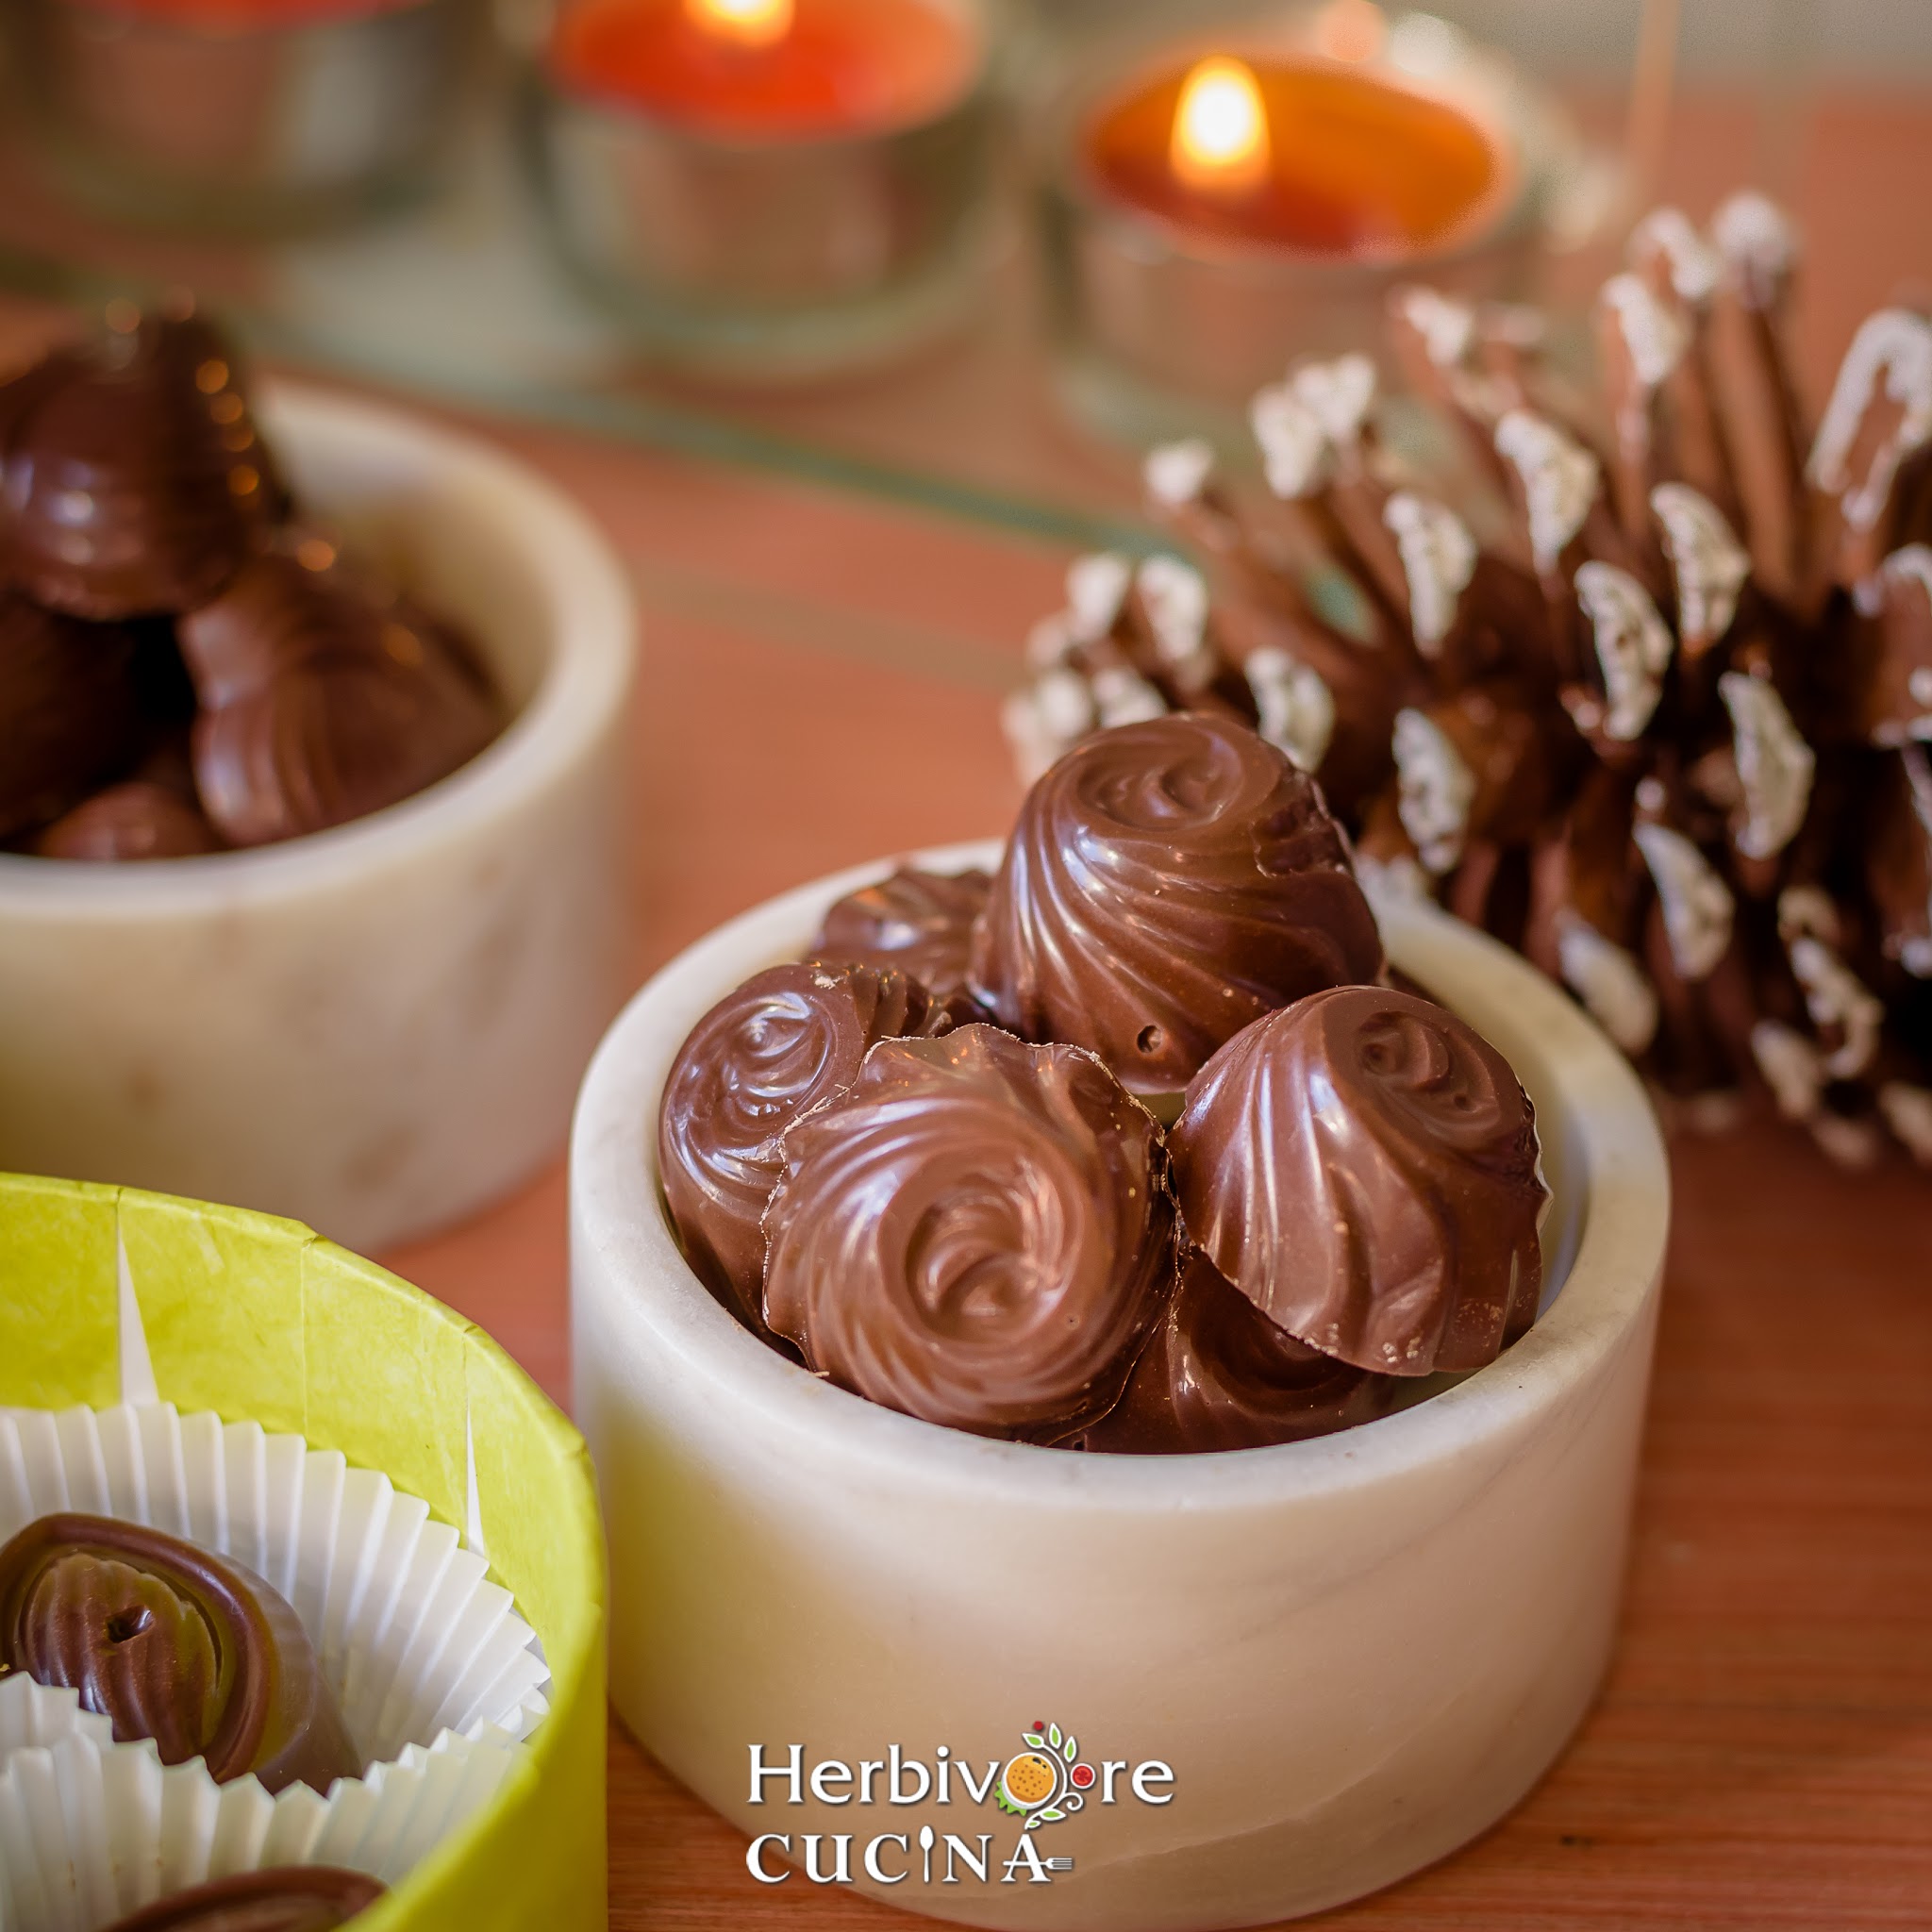
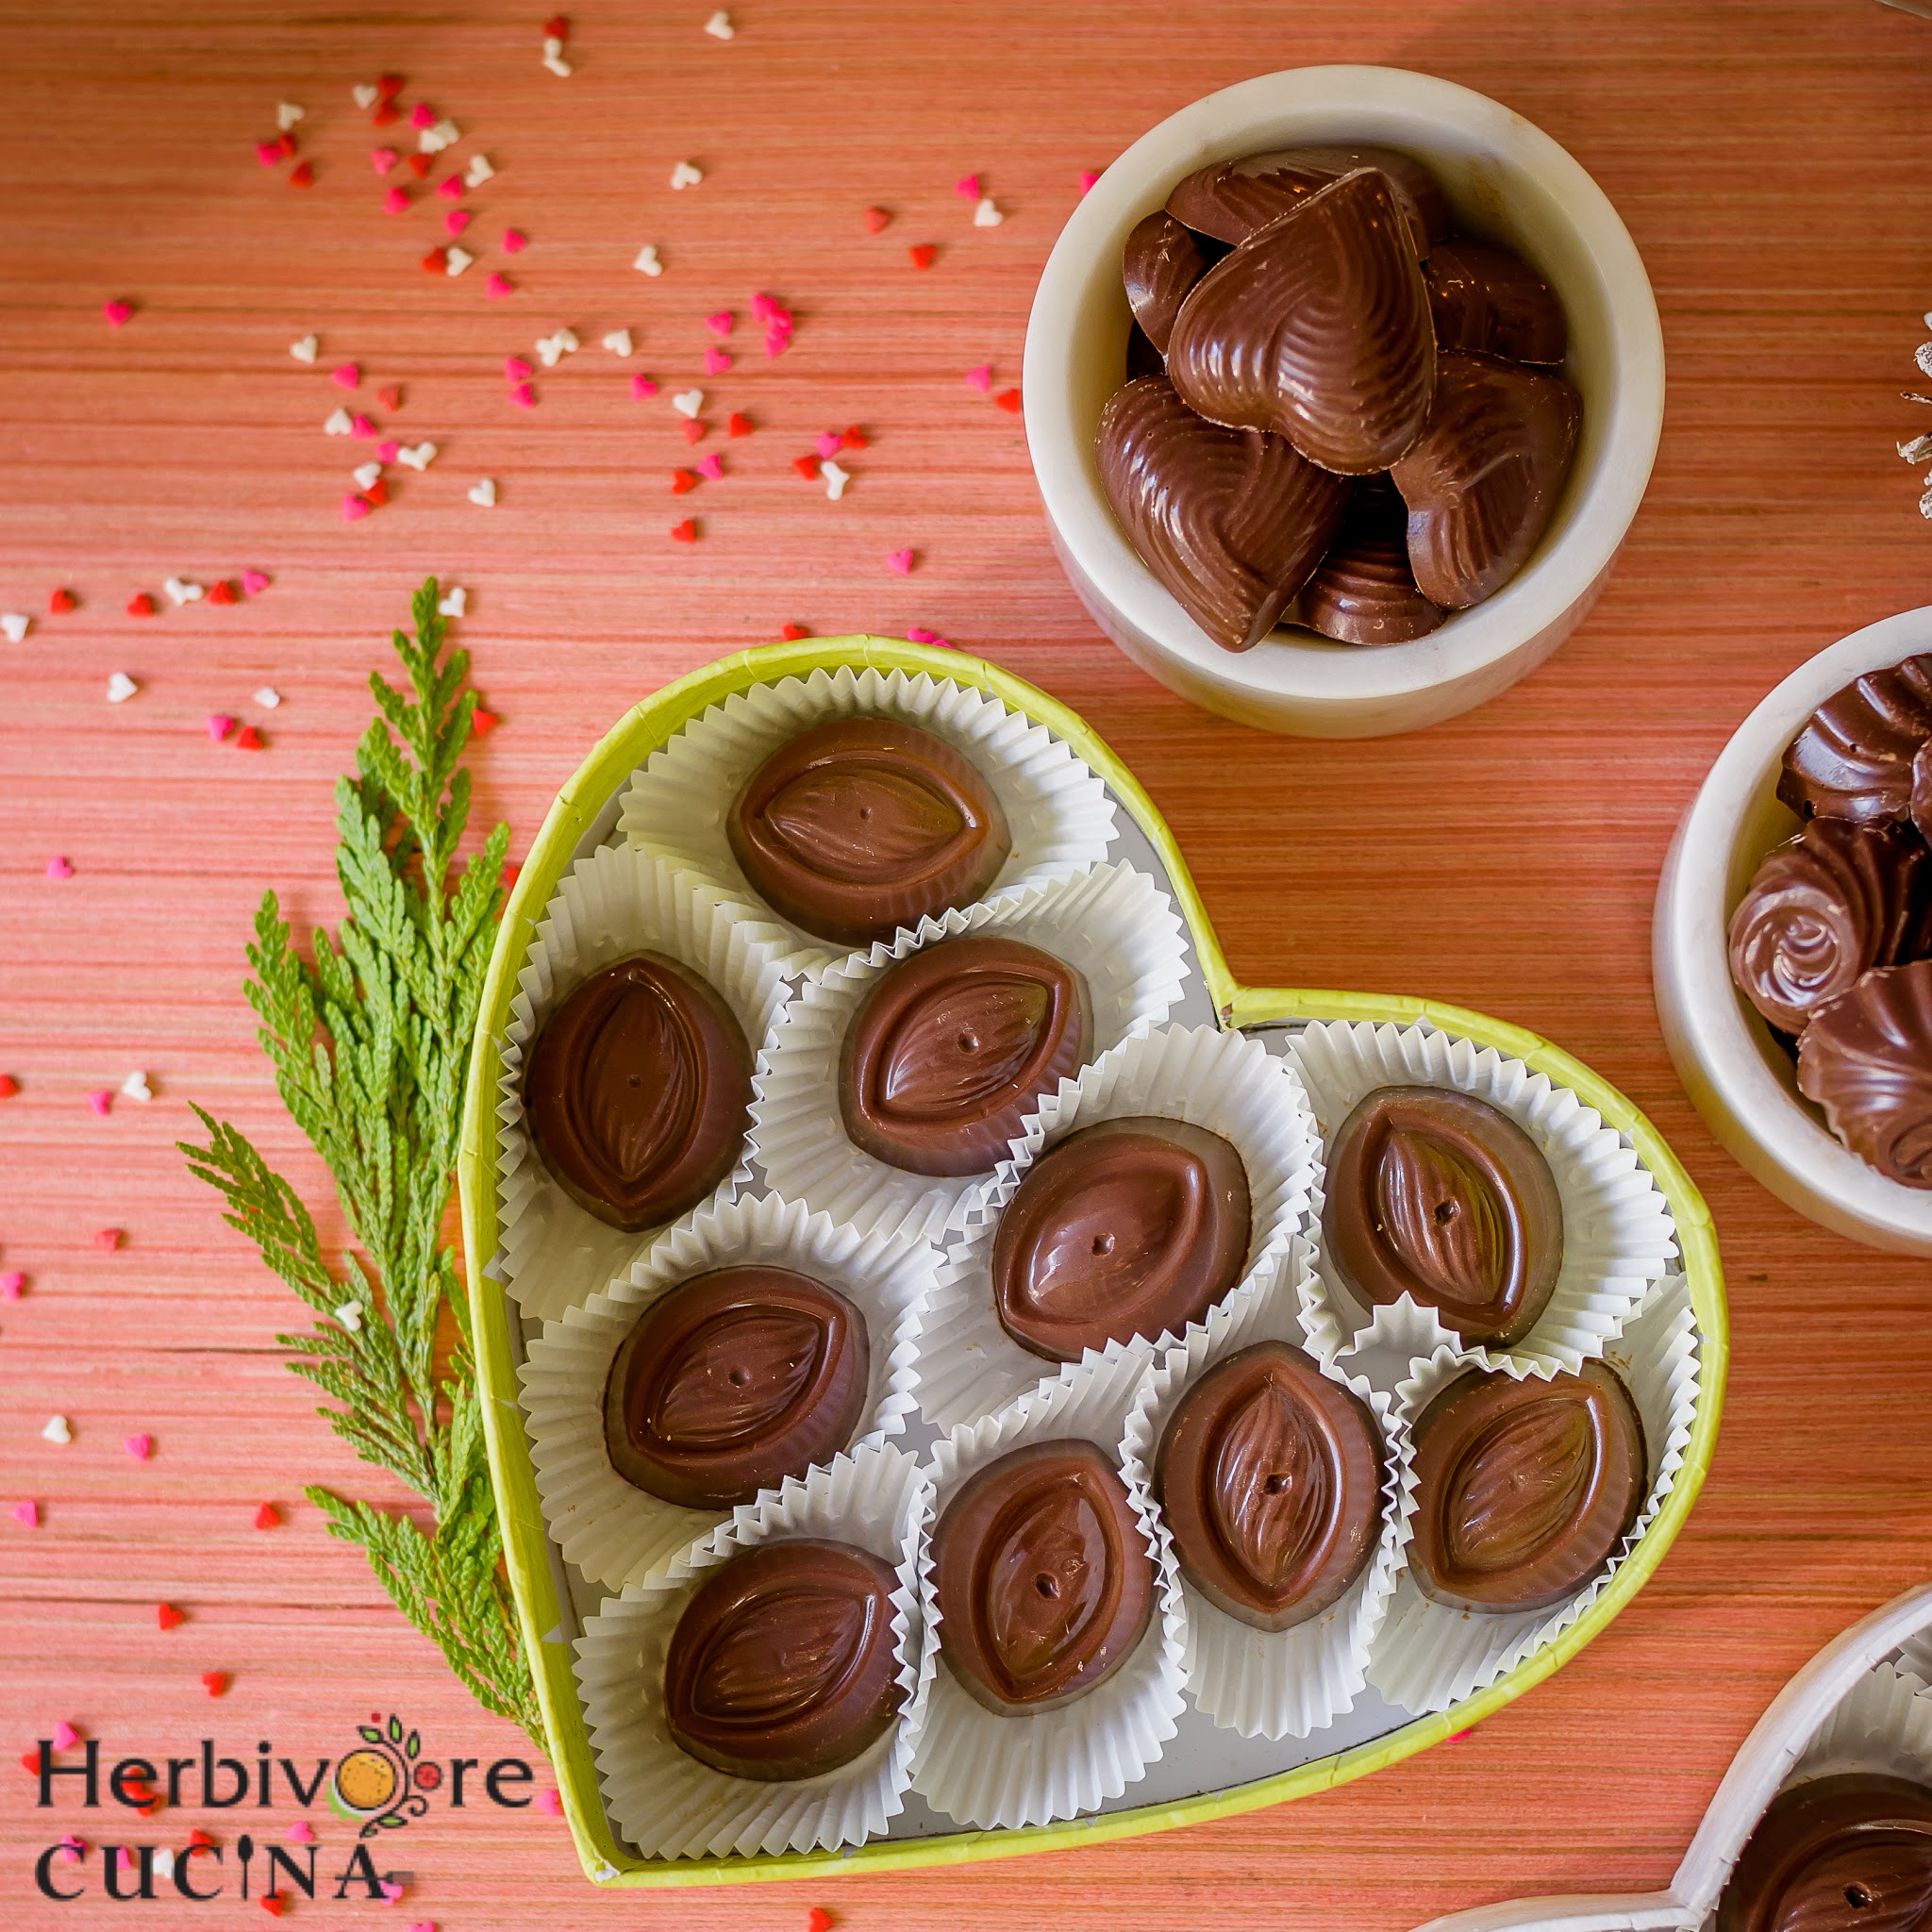
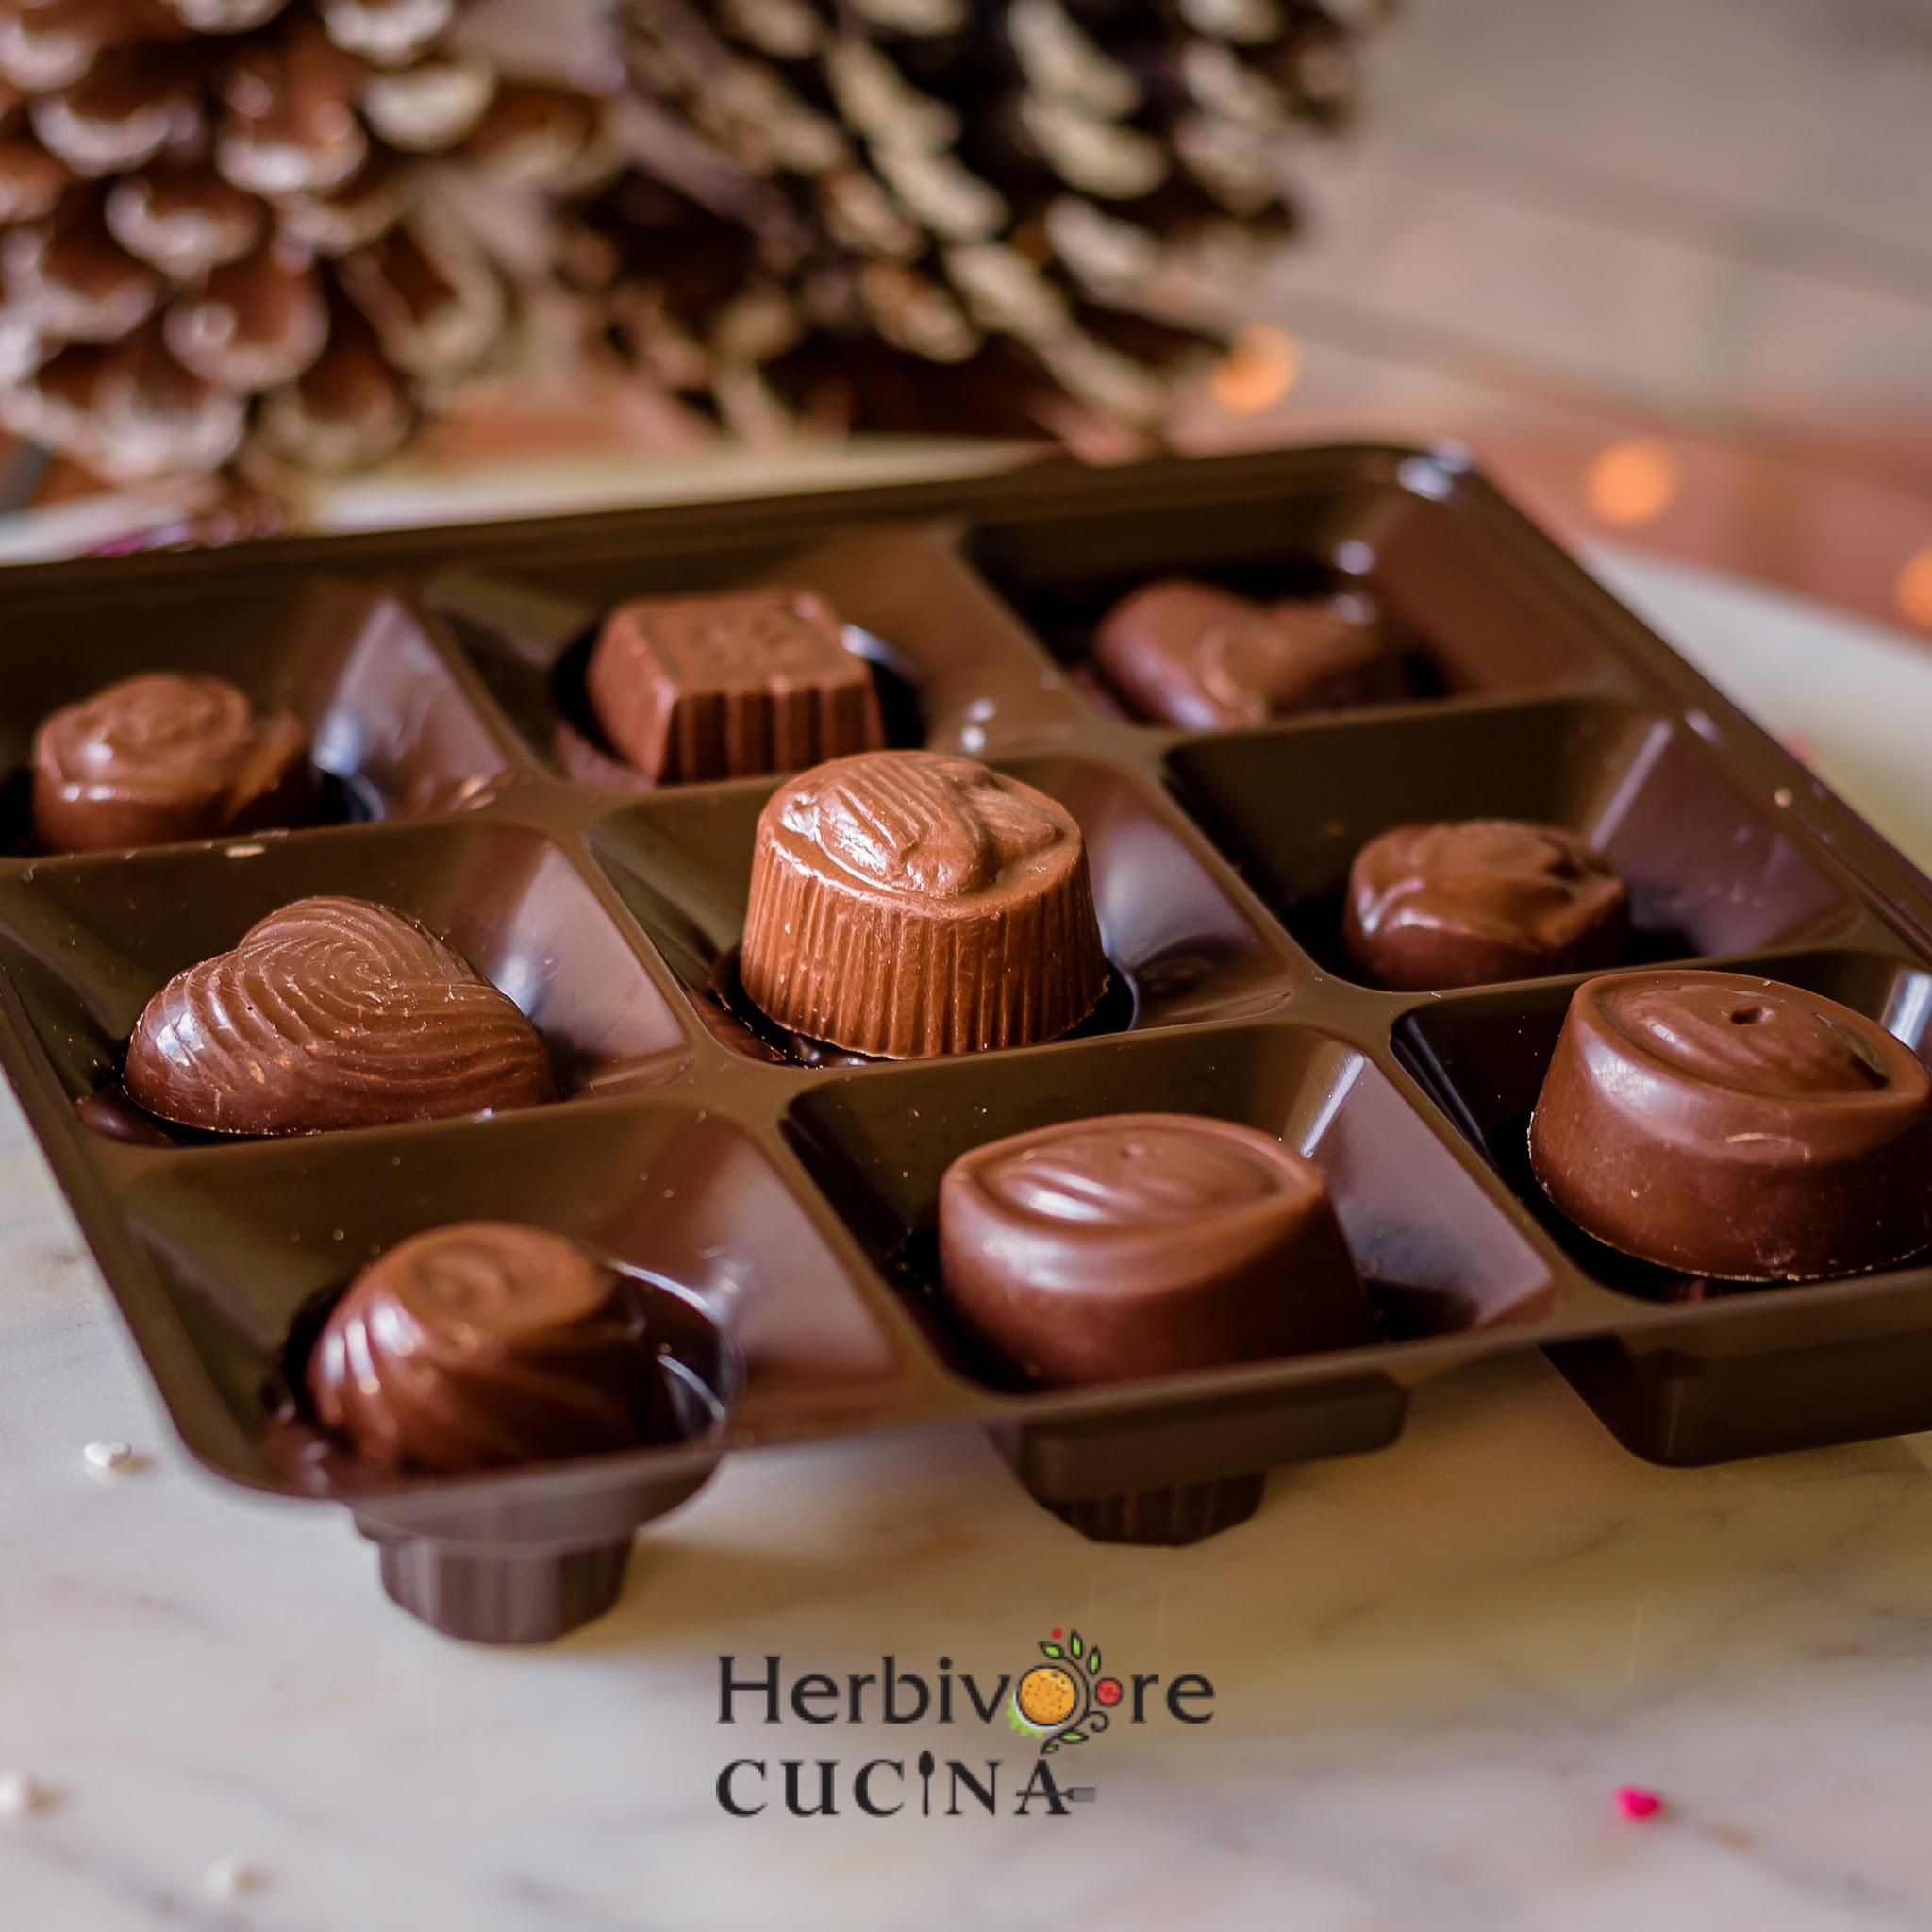
I made an assortment of chocolates this time. I had a Love inspired mold set and used that to make plain bittersweet chocolates. I made others with Roasted Almonds, Crunch bites, Strawberry Jam and Roasted Cashews.
To make it easy to identify after making, I try and make the same kind of chocolates in one kind of mold. Plus, if you intend to wrap the chocolates, make sure you wrap each kind of chocolate in the same color. It helps identify which wrapper has which chocolate and makes a colorful combination in the box.
Important points in making Chocolates
When I made this in India, I used to use Morde Compounds. They made the shiniest and smoothest chocolates. In the US I like to use Plymouth Make your own Almond Bark to make the chocolates. They make really yummy chocolates.
I used roasted nuts to make the chocolates, as they make amazing fillings. Just make sure the nuts are completely cool before using them in chocolates. If the nuts are warm, they will release water into the chocolates making them soggy.
The MOST important part of making chocolates is keeping it AWAY from WATER. Water and chocolate are enemies. Any contact with water in the process will seize the chocolate and will result in clumped chocolate that cannot be used to continue the process.
The molds for making chocolates are plenty. There are plastic molds and there are silicone molds. Pick the size of the cavities such that it makes bite sized chocolates. There are plenty of molds available in the market, choose one as per your preference.
The chocolate can be made by two methods; stovetop in a water bath or microwave. I like to make it by the microwave method, as it ensures no water gets in the way.
Choose the chocolates as you like; dark, milk or semi-sweet. I like to make a them either as a combination of semi-sweet and dark or only milk. I am a great fan of white chocolates filled with nuts but I did not make them this time.
|
Looking for more recipes? Head straight to this post to enjoy recipes from bloggers and food lovers! |
|||||||
|
|||||||

Ingredients
Chocolate blocks (Milk, Dark or somewhere in between) 2 cups
Fillings 1 cup (I used Almonds, Crunch bits, Coconut flakes and Cashews)
Method
Chop the chocolate block into pieces. I used a mix of 1 cup of dark chocolate and 1 cup of milk chocolate. Ensure the knife and the chopping board is completely dry. Transfer to a glass bowl that is fairly big.
Keep the molds ready on the counter. If you like the nuts roasted, dry roast them for 4-5 minutes on a pan. Allow them to cool completely.

To melt on the Stove
Heat a large pot of water on the stove till it boils. Turn down the heat and place the bowl filled with chocolate in the water. Ensure that the water does not enter the bowl or splash into it. Let the chocolate sit till it is about ⅔rd molten. Remove from heat and place on a kitchen towel so that the water below the bowl is absorbed.
To melt using Microwave
Place the chopped chocolate in a microwave safe bowl. Microwave on full power in successions of 30 seconds till the chocolate is almost completely molten. It took me about 2 minutes to melt the chocolate. Remove bowl from microwave and place on the kitchen counter.
To Temper the chocolate
Once the chocolate is on the counter, quickly stir using a spatula or fork till the chocolate melts completely. The chocolate should become shiny and completely liquid. This is the most important step in making the chocolate as this step helps to make perfectly shiny.
A lot of recipes ask for a thermometer to make the chocolate. However, it is simplest to determine the right temperature by touching the bottom of the bowl. If it is cool to touch, it is the right temperature to make the chocolates.
To make the Chocolates
Using a spoon fill the chocolate cavities with the melted chocolate. If making plain chocolates, fill the molds till the top. Tap well to remove all air bubbles.
If making filled chocolates, fill the molds halfway, tap to remove air bubbles. Add the fillings in the centre of the chocolate and pour the liquid chocolate till it the molds are completely filled. Tap well.
Let the chocolate molds stand till the chocolate completely solidifies. In coo weather it takes a couple of hours to solidify the chocolate and in warm places it may take up to 12 hours. Remove chocolates from the mold and enjoy!
Pin for Later

DISCLOSURE: WE ARE A PARTICIPANT IN THE AMAZON SERVICES LLC ASSOCIATES PROGRAM, AN AFFILIATE ADVERTISING PROGRAM DESIGNED TO PROVIDE A MEANS FOR US TO EARN FEES BY LINKING TO AMAZON.COM AND AFFILIATED SITES.


Leave a Reply